Getting Started With Osquery
Getting Started with Osquery
Intro
If you have not yet checked out my prior post, give it a quick read! The TLDR is essentially;
- osquery is SWEET, and has tons of applicability and versatility across a wide array of IT and SecOps use-cases.
- (Ok yes...I am inherently biased, given that I started a company built off of osquery. HOWEVER, my inherent bias does not invalidate the applicability of osquery in general AND its free – so check it out!
Don't take my word for it, though. The entire point of this post is to help you get going with osquery, in a lab or testing environment, so that you can experience the good-ness first hand!
In my next post I will start delving into more complex utilization of the tool, and query crafting – but for now lets just get you up and running, and go from there!
Getting Started
Getting started with Osquery is relatively straightforward. Here are the basic steps to install and use Osquery:
- Install Osquery:
- On macOS and Linux, you can install Osquery via package managers like
breworapt. - On Windows, Osquery can be downloaded as an MSI installer.
- On macOS and Linux, you can install Osquery via package managers like
- Running Queries:
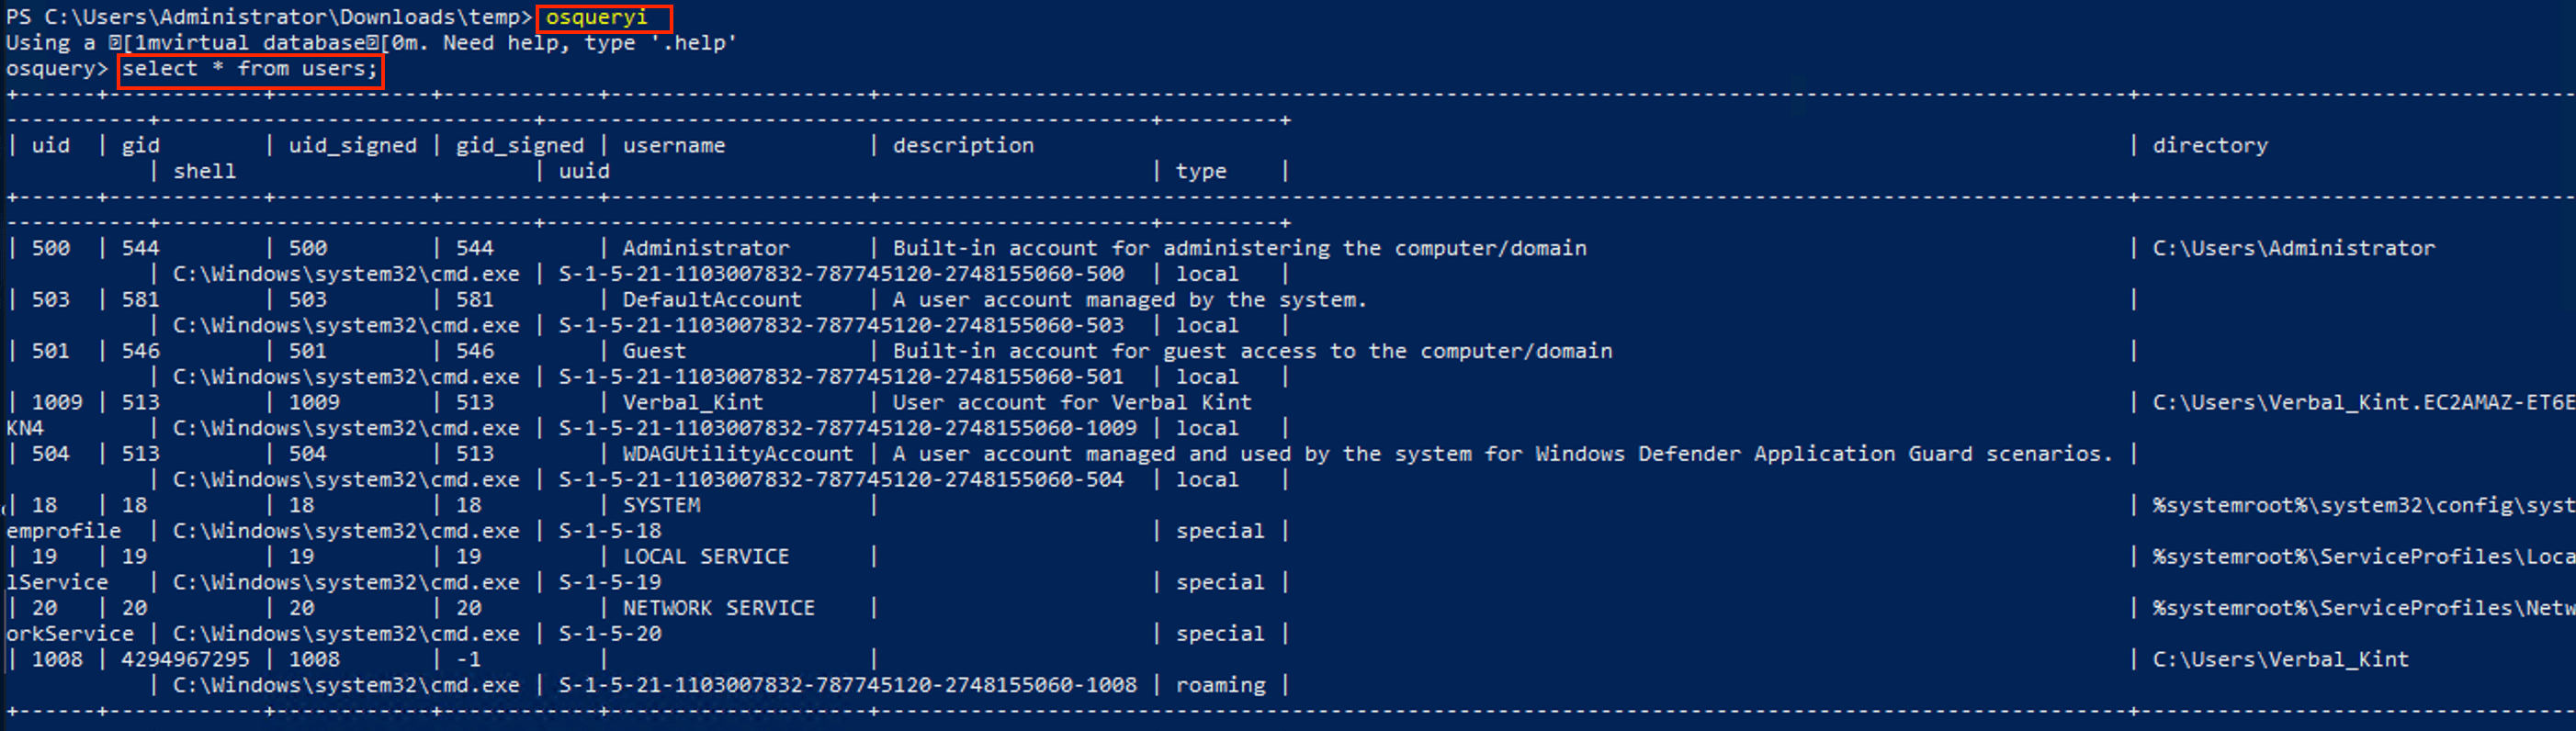
- After installation, you can interact with Osquery through its interactive shell (
osqueryi). This allows you to write SQL queries directly. For example, to list all active users on a system, you can run:
- After installation, you can interact with Osquery through its interactive shell (
SELECT * FROM users;- Refine Queries:
- Rather than simply utilizing
select *to return all data within a given table – focus on only the information that matters to you for a given use-case. Let's take the above example, and say we only want to return username, uid, and gid, you could edit the query as follows:
- Rather than simply utilizing
SELECT username, uid, gid FROM users;NOTE: the order of the fields returned are based on the order in which they are queried (i.e. if it were uid, gid, username then username would be the field furthest to the right)- Optimize Queries Per Use-Case:
- Lets say we want to only look for admin users, which has a gid on Windows of 544 – we can always look at the results and deduce, OR we can edit the query to ONLY return admin users, with a simple
WHEREclause:
- Lets say we want to only look for admin users, which has a gid on Windows of 544 – we can always look at the results and deduce, OR we can edit the query to ONLY return admin users, with a simple
SELECT username, uid, gid FROM users WHERE gid = 544;Conclusion
Soooo was I right, or was I right? osquery is pretty cool, huh?
Well you haven't seen anything yet! We got you installed and into the super basics of how to craft queries, which is a great start! BUT in my next blog we'll walk through how you can cross-references tables to provide further context to a given datapoint, and even how you can manipulate the results to make them easier to read at scale – stay tuned!